


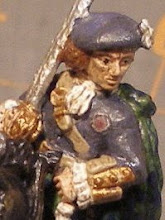
Our group gathered at a friend's house on Saturday, 6 August, for a naval wargame. We used my 1:2400 scale Russian and Japanese Panzerschiffe ships on a Cigar Box battle mat with David Manley's "White Bear, Red Sun" rules.
The action was a "what if" scenario between the Russian Pacific Fleet based in Port Arthur and the Japanese Combined Fleet.
The orders of battle were:
Russian Pacific Fleet:
1st Battle Division -- Petropavlovsk (B) [fleet flag], Poltava (B), Sebastopol (B), Tsesarevich (B)
2nd Battle Division -- Peresvyet (B) [flag], Pobyeda (B), Oslyabya (B), Petvizan (B)
Long-Distance Scout Division -- Bayan (AC) [flag], Diana (PC), Pallada (PC), Aurora (PC)
Japanese Combined Fleet:
1st Division, Sub-Group A -- Mikasa (B) [fleet flag], Asahi (B), Fuji (B), Yashima (B)
1st Division, Sub-Group B -- Shikishima (B) [flag], Hatsuse (B), Niishin (AC), Kasuga (AC)
2nd Division -- Izumo (AC) [flag], Azuma (AC), Asama (AC), Yakumo (AC), Tokiwa (AC), Iwate (AC)
The rules have four levels of damage:
Damaged (black puff) -1 to firing for rest of game; cannot be repaired
Silenced (orange or yellow puff) no firing and -1 when fired upon; can be repaired back to 'Damaged'
Crippled (red puff), no firing or moving and -2 when fired upon; can be repaired back to 'Silenced'
Sunk
All six commands started out in line ahead formation and sailed toward the enemy. We join the action in progress (I forgot to start taking pictures until several turns into game.). "North" is to the top of all the pictures. Please click on a picture for a larger image.
 |
| Russian ships on the left and Japanese ships on right. Top - Russian 1st Battle Division versus Japanese 2nd Division (armored cruisers); center - Russian 2nd Battle Division versus Japanese Division 1-A; bottom - Russian Long-Range Scouting Division versus Japanese Division 1-B. |
 |
| Japanese 1-B and 1-A Divisions begin to engage the Russian Long-Range Scouting (LRS) Division and the 2nd Battle Division. |
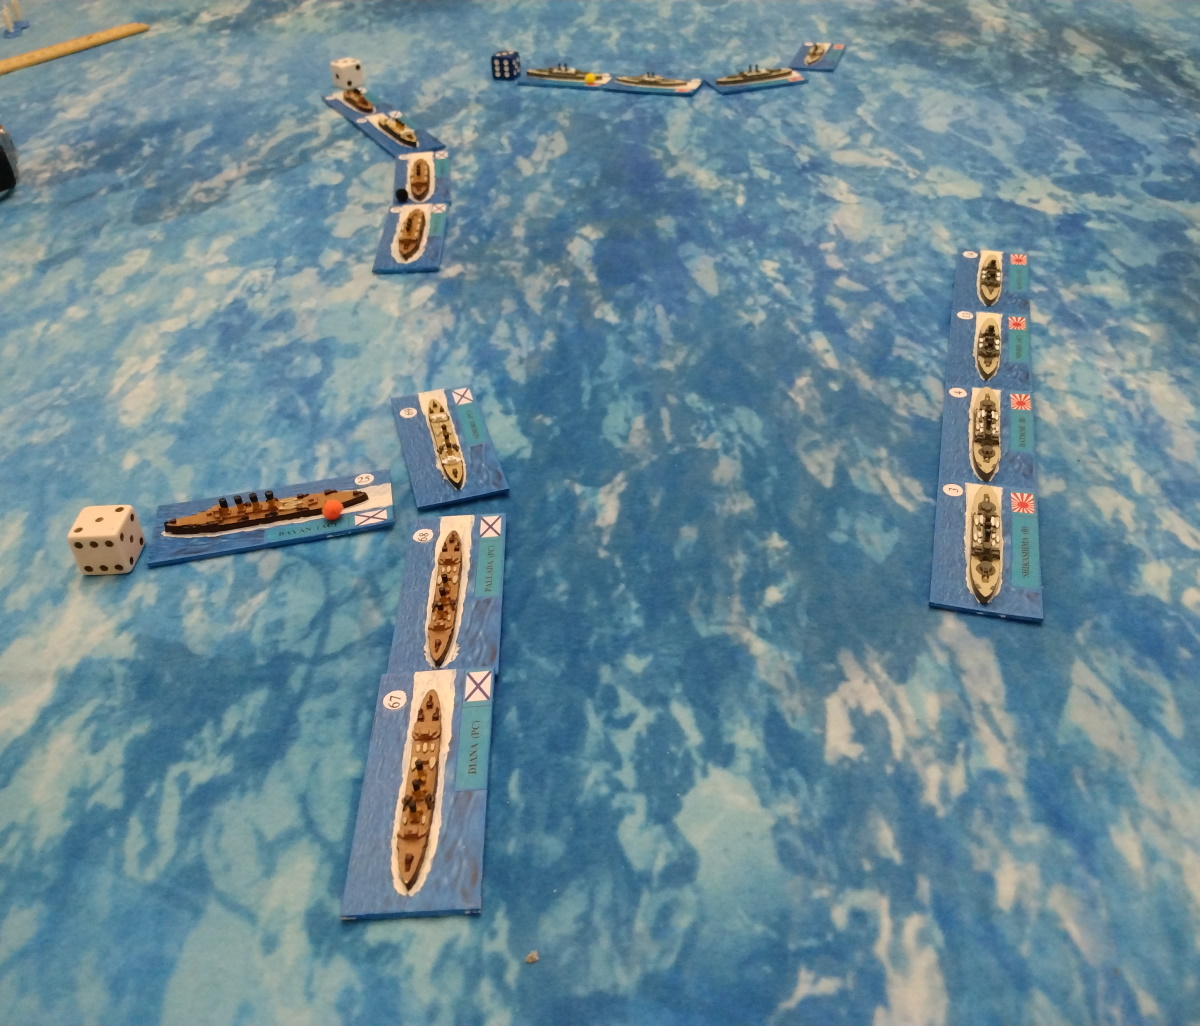 |
| With the Bayan silenced (orange puff), the rest of the cruisers try to shield him from the Japanese 1-B Division. In the background, the two battleship divisions engage each other closely with the Mikasa also being silenced. The dice indicate Action Points allocated to repair damage to ships. |
 |
| At the northern end of the action, the Japanese 2nd Division navigates around the rear of the Russian 1st Battle Division. The two lead Japanese cruisers are damaged, but the Russian battleships are proving tough nuts to crack. |
 |
| Back down south, the Russian cruisers run from the Japanese battleships and armored cruisers of Division 1-B. Their "pop guns" are of little use against the armor of the larger Japanese ships. At the top, the Japanese Division 1-A turns away to help their smaller armored cruiser cousins, leaving one battleship crippled and dead in the water (red puff). She was later repaired and rejoined the fray. |
 |
| Seeing the Japanese disengage, the Russian 2nd Division turns its guns onto the Japanese Division 1-B. Both sides begin to score hits (black puffs). The Russian cruisers try to cross the Japanese T to see if they can do better with their pop guns; they couoldn't. |
 |
| Back up north the trail Japanese armored cruiser Yakumo is hit many times and begins to sink. |
 |
| As the Japanese cruisers on Division 2 draw away, the Russian 1st Division battleships unexpectedly cross the T of the Japanese Division 1-A battleships, inflicting more damage to the lead Japanese battleship (orange puff) and the two trail ones (black puffs). But they have a battleship that has fallen out of the line (orange puff) |
 |
| Under fire from the Japanese battleships and armored cruisers, the Russian protected cruiser Aurora is crippled (red puff). His comrades dodge around him while the Russian 2nd Battle Division doesn't have much success against the Japanese ships. |
 |
| Continuing to blast the Russians, the Japanese are successful in sinking the poor Aurora. Well, looks like some other ship will have to start the revolution. The Russian battleships have turned away. Their admiral must have had second thoughts about engaging the Japanese. |
 |
| To the north, the flaming wreck of the Japanese armored cruiser Yakumo still lights up the scene as her fellow cruisers turn toward the Russian battleships whose T has been crossed by the Japanese Division 1-A battleships. The trailing Russian battleship is crippled (red puff) and suffers a critical hit setting him on fire! But two of the Japanese battleships are silenced (orange puffs) and can't contribute to punishing the Russians. |
 |
| The Russian battleship's fires were extinguished but his damage was so heavy that he is still crippled (red puff). His fellows pull away to regroup, leaving the Japanese battleships and cruisers to sail by each other as cheers erupt from both divisions. |
 |
| Back down south the Russian cruisers frantically try to escape from the guns of the Japanese Division 1-B battleships and armored cruisers. The Russian 2nd Battle Division tries to decide whether to pass ahead of or down the starboard side of the cruisers. |
 |
| Back up north, pummeled by Japanese battleships and armored cruisers, the Russian battleship Tseserevich explodes from a critical hit on his magazines. |
 |
| Finally the Russian battleships get the range and pummel the Japanese armored cruiser Niishin, sending her to the bottom. |
This ended the battle as darkness began to fall allowing the Russian ships to escape back to Port Arthur. The Japanese sank a Russian battleship and a protected cruiser while loosing two armored cruisers of their own.
Everyone had a good time and my pre-dreadnoughts saw action for the first time in over four years.
1 comment:
Nice looking game. David Manley's rules play fast and keep things moving.
Post a Comment